How to add a Dynamic Sitemap to your NextJs Blog

Sandro Maglione
Get in touch with meWeb development
28 April 2022
•7 min read
Sandro Maglione
Web development
One of the first information you need to add to your blog to improve your SEO is a sitemap. A sitemap is a simple xml file that contains the list of all the pages in your website.
This file is gold for Search Engines. It allows a crawler to know everything that your site has to offer. Therefore, any blog that wants to be visible on the web requires a sitemap.
In the previous post we learned how to create a fully customizable blog using contentlayer and nextjs. We are now going to add a Dynamic Sitemap that will automatically list all the posts in our blog.
Once again, you can find all the code on Github:
Why do I need a sitemap
Search Engines need to somehow know the pages that you host on your website. If you want your content to be available on Search, you better have a way to explicitly tell Search Engines about what you offer.
A Sitemap is an xml file listing all the pages of your website, used by Search Engines to collect a record of your content
A sitemap is at the core of your SEO strategy. You cannot hope that Google will index all your content automatically. You want to be explicit and expose every information that will make your website more likely to be indexed.
How does a sitemap work
It's simple. A sitemap is just an xml file located anywhere in your website. There are 2 main rules to follow:
- Your sitemap should be accessible in a public URL in your website
- A valid sitemap should follow the Sitemap Protocol Format
The format is simple: every page should be listed inside a <url> tag, and every <url> should contains a <loc> tag containing the full URL of your page.
The other (optional) parameters are:
<lastmod>: Date when the content in the page has been modified<changefreq>: How frequently the page is likely to change (e.g. hourly, monthly, etc.)<priority>: Number from 0 to 1 used to rank the priority of your pages
Below here a simple example of a valid sitemap:
<?xml version="1.0" encoding="UTF-8"?>
<urlset xmlns="http://www.sitemaps.org/schemas/sitemap/0.9">
   <url>
      <loc>http://www.example.com/</loc>
      <lastmod>2005-01-01</lastmod>
      <changefreq>monthly</changefreq>
      <priority>0.8</priority>
   </url>
</urlset>
There are many more details to a sitemap file. Take a look at the Sitemap Protocol Format specification to learn more
Create a Dynamic Sitemap for our blog
In order to create our sitemap we are going to use the power of nextjs getServerSideProps.
All the pages inside a nextjs app are located inside the pages folder, and our sitemap is no exception. Nonetheless, we need a way to convert the response to an xml file.
Start by creating a new sitemap.xml.tsx inside pages. By calling the file sitemap.xml.tsx we are able to expose our sitemap in the root of our website at https://.../sitemap.xml.
Inside sitemap.xml.tsx we are going to use getServerSideProps, which gives us access to the res property inside its context parameter:
import type { GetServerSidePropsContext } from "next/types";

// Access `res` inside `GetServerSidePropsContext`
export async function getServerSideProps({ res }: GetServerSidePropsContext) {
  return { props: {} };
}
res is of type ServerResponse. It allows us to explicitly change the response. We use it to change the response Content-Type to xml:
import type { GetServerSidePropsContext } from "next/types";

export async function getServerSideProps({ res }: GetServerSidePropsContext) {
  if (res) {
     // Content type is now xml
    res.setHeader("Content-Type", "text/xml");
  }

  return { props: {} };
}
We also need to provide the content of our sitemap as response. We already saw in the previous post that contentlayer allows us to import a list of all our posts. All we need to do is map over it and build the sitemap:
import { allPosts } from "contentlayer/generated";
import type { GetServerSidePropsContext } from "next/types";

// TODO: Change this with your website URL
const WEBSITE_URL = "https://www.example.com";

// TODO: You could add a custom `priority` and `changefreq` for each page
// https://www.sitemaps.org/protocol.html
const sitemap = `<?xml version="1.0" encoding="UTF-8"?>
    <urlset xmlns="http://www.sitemaps.org/schemas/sitemap/0.9">
    <url><loc>${WEBSITE_URL}</loc></url>
    ${allPosts
      .map(
        ({ url, date }) => `<url>
      <loc>${WEBSITE_URL}${url}</loc>
      <lastmod>${date}</lastmod>
      <priority>1.00</priority>
      <changefreq>monthly</changefreq>
      </url>`
      )
      .join("\n")}
    </urlset>`;

export async function getServerSideProps({ res }: GetServerSidePropsContext) {
  if (res) {
    res.setHeader("Content-Type", "text/xml");
  }

  return { props: {} };
}
Finally, we need to submit the sitemap in our response. We are also going to add a react component that returns null, since the response is handled by getServerSideProps:
import { allPosts } from "contentlayer/generated";
import type { GetServerSidePropsContext } from "next/types";

// TODO: Change this with your website URL
const WEBSITE_URL = "https://www.example.com";

// TODO: You could add a custom `priority` and `changefreq` for each page
// https://www.sitemaps.org/protocol.html
const sitemap = `<?xml version="1.0" encoding="UTF-8"?>
    <urlset xmlns="http://www.sitemaps.org/schemas/sitemap/0.9">
    <url><loc>${WEBSITE_URL}</loc></url>
    ${allPosts
      .map(
        ({ url, date }) => `<url>
      <loc>${WEBSITE_URL}${url}</loc>
      <lastmod>${date}</lastmod>
      <priority>1.00</priority>
      <changefreq>monthly</changefreq>
      </url>`
      )
      .join("\n")}
    </urlset>`;

export async function getServerSideProps({ res }: GetServerSidePropsContext) {
  if (res) {
    res.setHeader("Content-Type", "text/xml");
    res.write(sitemap);
    res.end();
  }

  return { props: {} };
}

const Sitemap: React.FC = () => null;
export default Sitemap;
And we are done! Run your app and visit sitemap.xml, you will see something like this:
<urlset xmlns="http://www.sitemaps.org/schemas/sitemap/0.9">
   <url>
      <loc>https://www.example.com</loc>
   </url>
   <url>
      <loc>https://www.example.com/posts/example</loc>
      <lastmod>2021-12-24T00:00:00.000Z</lastmod>
      <priority>1.00</priority>
      <changefreq>monthly</changefreq>
   </url>
</urlset>
There is more.
Every week I build a new open source project, with a new language or library, and teach you how I did it, what I learned, and how you can do the same. Join me and other 600+ readers.
How can a Search Engine know about my sitemap
Just creating a sitemap is not enough. We need to make sure Search Engines know about it.
There are 2 primary ways to expose your sitemap:
robots.txt- Submit your sitemap directly
robots.txt
robots.txt is a plain text file in the root of your website. It contains metadata that allow or disallow specific Search Engines to crawl your content. robots.txt is also expected to contain a link to your sitemap URL.
In order to add a robots.txt file to our blog, we just need to create this file inside the public folder in nextjs. By creating it in public, nextjs will include it in the build an make it available in the root of our website, exactly as we wanted.
The most simple setup for a robots.txt file consists in allowing all Search Engines, below here an example of a valid robots.txt file:
User-agent: *
Sitemap: https://blog.sandromaglione.com/sitemap.xml
Submit your sitemap to Google
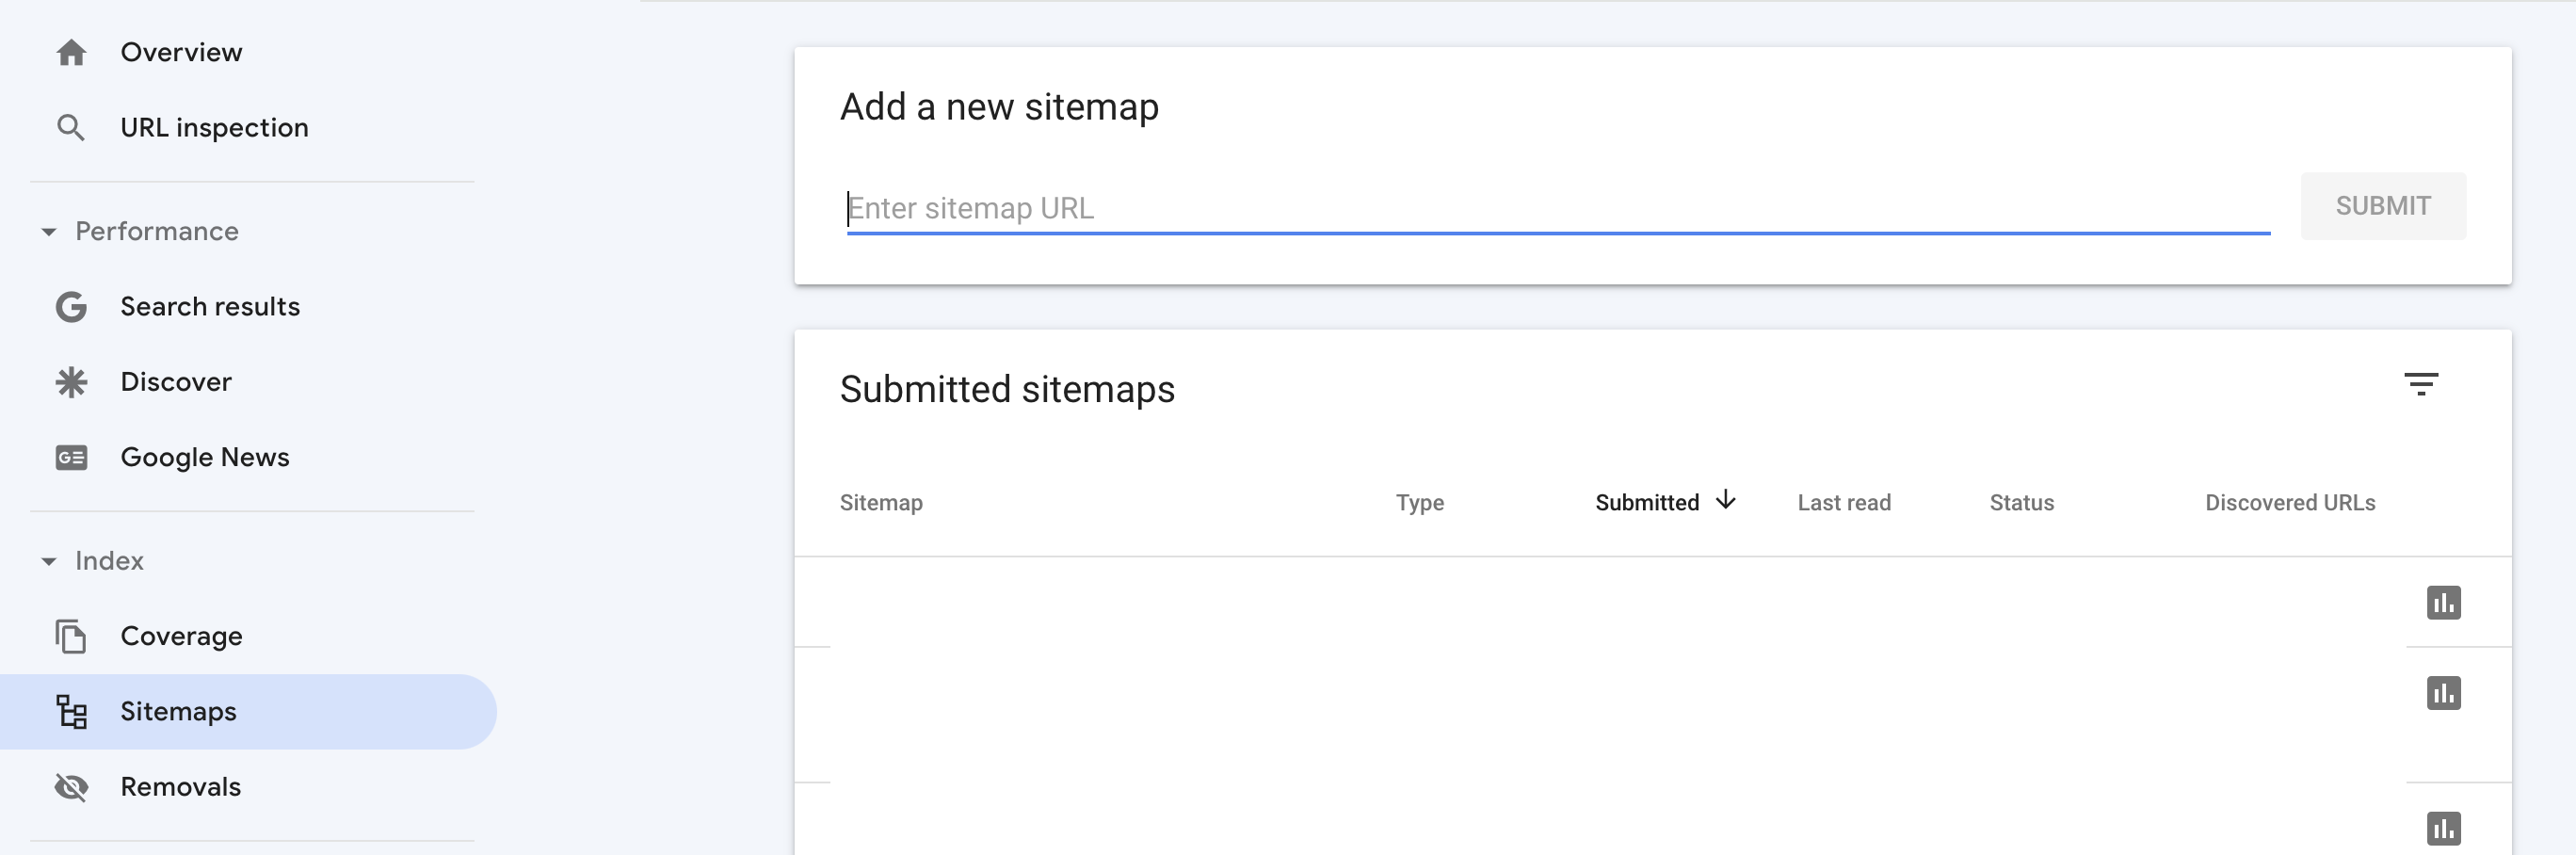
Google allows you to submit your sitemap directly to Search. This is a way to explicitly tell Google that you exists.
In order to monitor your website on Google, you use the Google Search Console.
We won't dive into the details here (that's a topic for another time). Once you sign up and verify your website successfully, you will have access to the console's dashboard.
Just click Sitemaps in the menu and send the link of your sitemap. Google will automatically download it and store a list of all your pages, all waiting to be indexed.