
It's common when working with a game engine to have an update or render method.
This method gets called on every frame and allows you to update the current state of the game.
In this article we are going to implement a Game/Animation rendering loop using Typescript and HTML canvas.
Here is the final code (copy-paste ready ✅):
let lastTime: number | null = null;

const update = (onUpdate: (delta: number) => void) => (time: number) => {
  if (lastTime !== null) {
    const delta = time - lastTime;
    onUpdate(delta);
  }

  lastTime = time;
  window.requestAnimationFrame(update(onUpdate));
};

/**
 * Function that starts the rendering cycle and executes `onUpdate` at every frame.
 *
 * @param onInit Function executed once at first render
 * @param onUpdate Update function executed at every frame, given `delta` (time since last frame in milliseconds) and context (canvas)
 * @param id `id` of `canvas` element, `"canvas"` by default
 */
export default function renderer(
  onInit: (context: {
    ctx: CanvasRenderingContext2D;
    canvas: HTMLCanvasElement;
  }) => void,
  onUpdate: (
    delta: number,
    context: {
      ctx: CanvasRenderingContext2D;
      canvas: HTMLCanvasElement;
    }
  ) => void,
  id = "canvas"
) {
  const canvas = document.getElementById(id);
  if (canvas && canvas instanceof HTMLCanvasElement) {
    const ctx = canvas.getContext("2d");

    if (ctx) {
      onInit({ canvas, ctx });
      window.requestAnimationFrame(
        update((delta) => onUpdate(delta, { canvas, ctx }))
      );
    }
  }
}
Rendering lifecycle in games: Unity
In Unity for example, every script class inherits from MonoBehaviour.
MonoBehaviour gives you access to 2 main methods:
Start(): Used for initializationUpdate(): Used for updates (called once per frame)
using UnityEngine;
using System.Collections;

public class NewBehaviourScript : MonoBehaviour {
    // Use this for initialization
    void Start () {

    }

    // Update is called once per frame
    void Update () {

    }
}
The Update function allows to update the current state of the game. This might include movement, triggering actions, responding to user input, anything that needs to be handled over time during gameplay.
The Start function is called only once at the beginning of the lifecycle. It allows to initialize the state.
UpdateandStartare the 2 main methods used to implement a game rendering loop
Rendering loop using HTML canvas
On the web we can achieve a similar result using <canvas>.
canvascan be used for animations, game graphics, data visualization, photo manipulation, and real-time video processing
Let's start by adding a canvas tag with a custom id, width and height:
<!DOCTYPE html>
<html lang="en">
  <head>
    <meta charset="UTF-8" />
    <meta name="viewport" content="width=device-width, initial-scale=1.0" />
    <title>Game rendering loop</title>
  </head>
  <body>
      <canvas
        id="canvas"
        width="300"
        height="300"
      ></canvas>
  </body>
</html>
The goal now is to implement a function that gives as access to the Canvas Rendering Context and that runs a continuous loop at every frame.
requestAnimationFrame: Rendering loop
window provides a requestAnimationFrame method.
requestAnimationFrame is used to perform animations on the web. It tells the browser to call a specified function to update an animation right before the next repaint.
Note: A single
requestAnimationFramerequest animates 1 single frame. In order to have a continuous loop we need to invokerequestAnimationFramerecursively.
requestAnimationFrame allows to pass a callback function that will be called before the next repaint.
The callback function provides 1 parameter which is the time (in milliseconds) in which the function is called (the time is of type DOMHighResTimeStamp):
window.requestAnimationFrame((time) => {
  /*
  * Game loop here 🔄
  */

  window.requestAnimationFrame(); // Recursive cycle
});
delta time: Time between each frame
A game loop also provides a delta time (called Time.deltaTime in Unity for example).
delta: The interval from the last frame to the current one
This value is used to perform animations, since it allows to gradually update the position of an object after every frame.
We can compute this value using the time parameter provided by the requestAnimationFrame callback function:
// Initially `null` (only for the very first frame ☝️)
let lastTime: number | null = null;

const update = (onUpdate: (delta: number) => void) => (time: number) => {
  if (lastTime !== null) {
    // `delta`: Time between the current and the previous frame ⏱️
    const delta = time - lastTime;
    onUpdate(delta);
  }

  lastTime = time;
  window.requestAnimationFrame(update(onUpdate));
};
The update function implements the game rendering loop.
It provides an onUpdate function, which allows to update the state after every frame (equivalent to Update () in Unity).
Accessing canvas in the rendering loop
The final step is getting access to canvas inside the rendering loop:
export default function renderer(
  onInit: (context: {
    ctx: CanvasRenderingContext2D;
    canvas: HTMLCanvasElement;
  }) => void,
  onUpdate: (
    delta: number,
    context: {
      ctx: CanvasRenderingContext2D;
      canvas: HTMLCanvasElement;
    }
  ) => void,
  id = "canvas"
) {
  const canvas = document.getElementById(id);
  if (canvas && canvas instanceof HTMLCanvasElement) {
    const ctx = canvas.getContext("2d");

    if (ctx) {
      onInit({ canvas, ctx });
      window.requestAnimationFrame(
        update((delta) => onUpdate(delta, { canvas, ctx }))
      );
    }
  }
}
The renderer function accepts 3 parameters:
onInit: Initialize the state (equivalent toStart ()in Unity)onUpdate: Update the state at every frame (equivalent toUpdate ()in Unity)id: Referenceidof thecanvas("canvas"by default)
Inside renderer we get access to canvas and ctx and then start the rendering loop by calling window.requestAnimationFrame.
How to use renderer
That's all! Now you can simply call renderer when the webpage loads and use onInit and onUpdate to define your game/animation logic:
renderer(
  ({ canvas, ctx }) => {
    // Initialize the state: game objects, `addEventListener`, inputs
  },
  (delta, { canvas, ctx }) => {
    const { width, height } = canvas;

    // Example: Clear and repaint the `canvas` at every frame (= animation 🪄)
    ctx.clearRect(0, 0, width, height);

    // Render loop: called after every frame 🔄
  }
);
Here is the final complete code 👇:
let lastTime: number | null = null;

const update = (onUpdate: (delta: number) => void) => (time: number) => {
  if (lastTime !== null) {
    const delta = time - lastTime;
    onUpdate(delta);
  }

  lastTime = time;
  window.requestAnimationFrame(update(onUpdate));
};

/**
 * Function that starts the rendering cycle and executes `onUpdate` at every frame.
 *
 * @param onInit Function executed once at first render
 * @param onUpdate Update function executed at every frame, given `delta` (time since last frame in milliseconds) and context (canvas)
 * @param id `id` of `canvas` element, `"canvas"` by default
 */
export default function renderer(
  onInit: (context: {
    ctx: CanvasRenderingContext2D;
    canvas: HTMLCanvasElement;
  }) => void,
  onUpdate: (
    delta: number,
    context: {
      ctx: CanvasRenderingContext2D;
      canvas: HTMLCanvasElement;
    }
  ) => void,
  id = "canvas"
) {
  const canvas = document.getElementById(id);
  if (canvas && canvas instanceof HTMLCanvasElement) {
    const ctx = canvas.getContext("2d");

    if (ctx) {
      onInit({ canvas, ctx });
      window.requestAnimationFrame(
        update((delta) => onUpdate(delta, { canvas, ctx }))
      );
    }
  }
}
This is all you need to implement a basic game loop on the web using typescript and canvas.
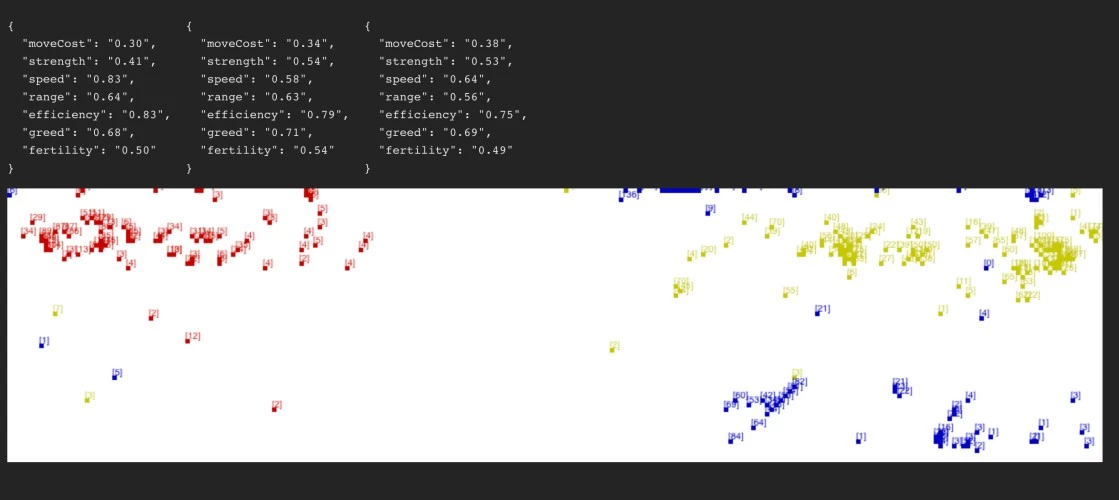
I personally used this to create a simulation of a natural selection environment running directly on my browser:
This rendering loop is ideal for creating animated simulations, simple games, and algorithm visualizations, all with a single renderer function running on the web 🪄
If you found this article helpful or interesting, you can subscribe to my newsletter here below for similar content 👇
Thanks for reading.