How to develop a Flutter package | Flutter Tutorial

Sandro Maglione
Get in touch with meMobile development
24 July 2022[updated]
•9 min read
Sandro Maglione
Mobile development
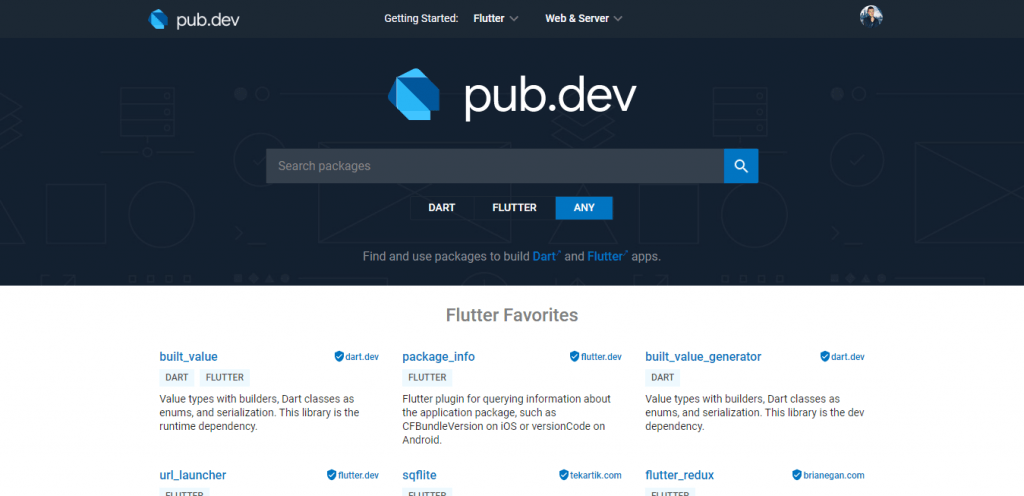
One of the great strengths of Flutter is the community. People everywhere spend their time to develop and release amazing packages for everyone to use, all completely open-source. On pub.dev is it possible to find packages and plugins for any functionality that you need for your next project.
Everyone can contribute to the growth and expansion of Flutter. There are many great ways to give your own contribution:
- File issues on Github projects to sustain the authors and improve the package functionalities
- Star Github projects to show your appreciation and help the package to be known by the community
- Help people by sharing the package and answering questions
- Develop your own package and share it with everyone
In this article, you are going to learn how to become a contributor to the Flutter and Dart community, how to develop a Flutter package, and how to release your own package on pub.dev.
Create the project
The first step is creating the project for your awesome new package. Creating a Flutter project for a package is different from creating a normal application. Navigate to your chosen folder, and from the terminal type:
flutter create --template=package my_awesome_package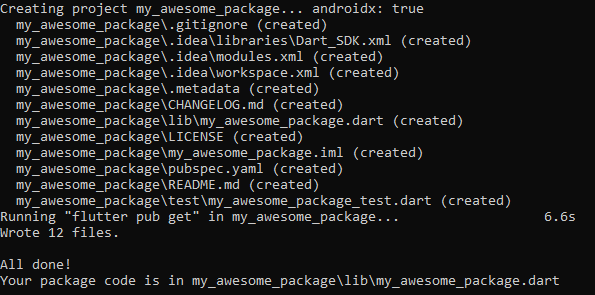
You will notice that the folder structure created is different from a typical Flutter project:
- No
androidandiosfolders have been generated CHANGELOG.mdandLICENSEfile generated- In
pubspec.yaml, two fields, author and homepage, have been added to the project configuration parameter - The package contains two folders,
testandlib, containing each one.dartfile
That is our starting point from which to develop the package. All the people that will be using your package will just need to import the my_awesome_package.dart generated inside the lib folder.
Adding author and homepage
In order to display your information as the author of the package, you need to change the author and homepage fields generated inside the pubspec.yaml file. The author field should be populated with your name and email address, while the homepage field should contain a link to your pub.dev package (which we still do not have since we did not yet publish the package) or a link to the Github project or your website.
name: my_awesome_package
description: the awesome package I created by following this tutorial
author: Sandro Maglione <lass.maglio@gmail.com>
homepage: https://www.sandromaglione.com/blog
Develop your package
Here comes the fun part, developing your Flutter package. You can develop whatever package you want or like. It does not need to be a revolutionary package with hundreds of functionalities. It could just as well be a simple UI package that solves a small problem for you that you would like to openly share with everyone. Or it could be a massive cross-platform plugin that solves an impelling problem inside the community.
One general convention is to have a single file that everyone can import to use your package. This file will be the only one that an external user needs to import and will make available all the package functionalities.
Therefore, if your package contains more than one .dart file, create an src folder inside lib and place all your .dart files inside it. Then, create an entry point .dart file inside lib that exports all the package's files.
library my_awesome_packge;

export 'src/file1.dart';
export 'src/file2.dart';
export 'src/file3.dart';
export 'src/file4.dart';
Check out more packages examples code on Github for inspiration. They are all open-source, so you are free to inspect, copy, and support the code.
As a reference, you can take a look at my packages on pub.dev: Sandro Maglione on Pub.
Create a Github repository
Remember to upload your package on a Github repository. The repository will contain all the files, commits, and version history of your package. Create a public repository on Github and upload all your files.
My advice is also to add a list of tags to your Github repository to identify the content of your package. It will show the people what your package is about and it will make it easier to search and find on Github and Google.
The Github repository is where all the people can check out the open-source code of your package, file issues, ask for support, or request some extra features.
Documentation
No good package is complete without a well written and informative documentation.. You want the people that will use your package to know exactly what are its functionalities and how they can use them in their own projects.
As mentioned before, a CHANGELOG.md file and a LICENSE file has been generated, as well as the README.md file in the directory of the project. Those files are required to publish a package on pub.dev.
README.md
The README.md file contains the actual documentation of your package. It is the file that will be displayed on the main page of Github and on pub.dev, and it is the starting point for each user to learn how to use the package.
In this file, you should explain how your package works, what functionalities it has, and how to use them. It is really important to keep your documentation clear, concise, and informative. A good documentation shows that you care about your package.
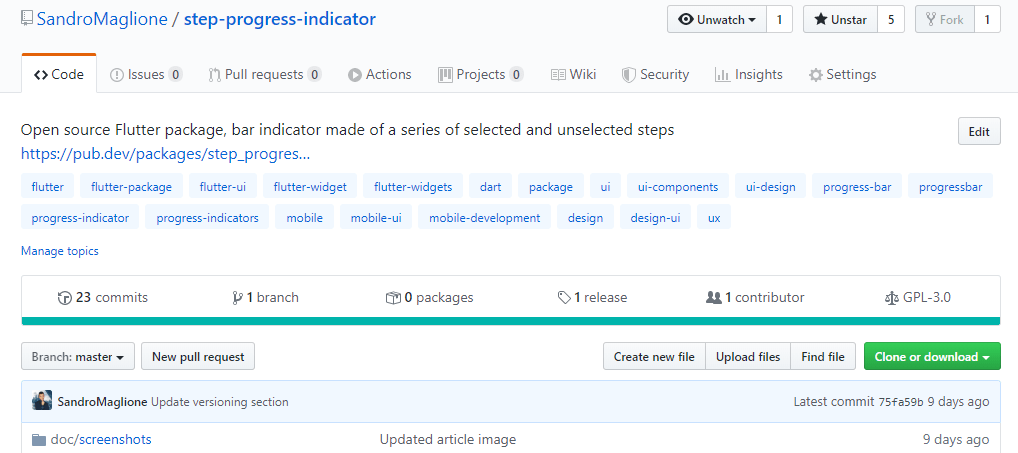
If you need an example, check out the documentation for my package step_progress_indicator on pub.dev. To make everything as clear as possible, I decided also to write a full tutorial on my blog to explain every functionality of the package, you can read the tutorial here: Step Progress Indicator | Flutter package tutorial.
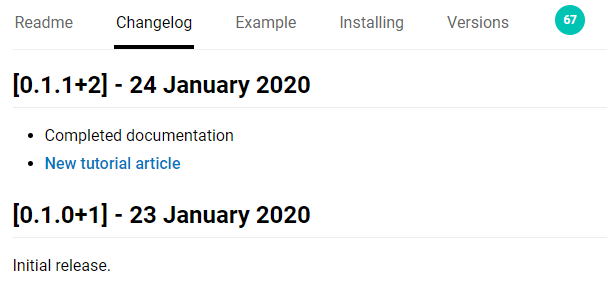
CHANGELOG.md
This file will list all the update notes for every new version release of your package. You must add a title containing the name of the release (the same as the pubspec.yaml file in the version field) and below that a list of all the updates and changes for that version. The CHANGELOG.md file content will be displayed under the Changelog tab on your pub.dev package page.
LICENSE
Every package must have a LICENSE file. You can write your own license or copy one of the common license files available on Github.
Testing your package
One of the main indicators of the level of maintenance and health of a package is the number of tests it contains. You should develop some tests inside the test folder (check out the official Flutter documentation to learn more).
DartDoc API
You should also consider writing documentation comments to further explain what each public function of your package does. Documentation comments in dart can be made by using three slash symbols /// instead of the two of a normal comment.
/// This function is well documented also using an effective dart comment
void myFunction() {}
Check out the official dart documentation page for more information about effective dart documentation comments.
Launch dartdoc to auto-generate API documentation
Using the dart documentation comments you wrote, you can launch the dartdoc command to auto-generate an official dart API documentation for your package. Just type dartdoc on your terminal to generate the API (more information here).
This command will generate a doc folder in the root of your project containing some HTML files with your API. Those files will be uploaded to pub.dev and they will be available for everyone to consult. Check out the API of my step_progress_indicator package as a reference.

Publish the package on pub.dev
It is now time to release your package to the world. It is super-easy to publish a package on pub.dev.
First of all, you will need to create an account on pub.dev to publish a package. Just click on the Sign In button on the top-right corner of the page to register your account.
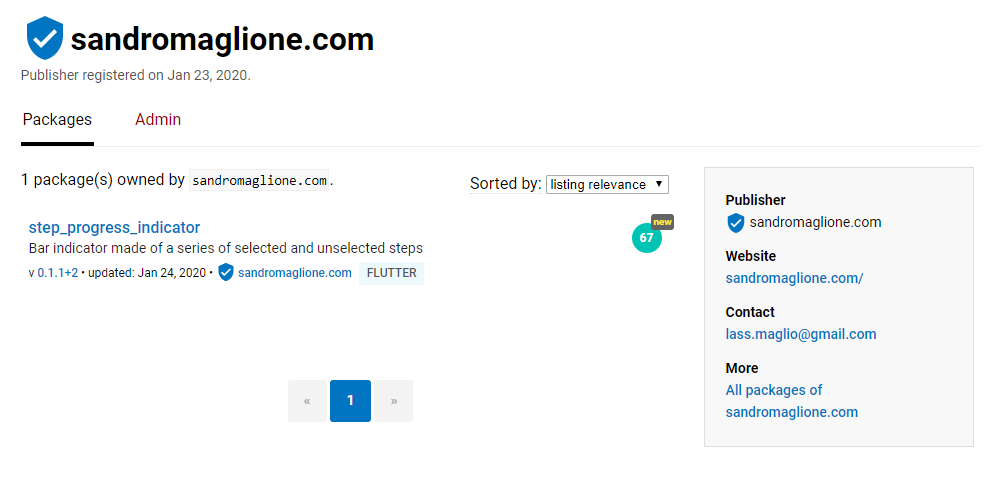
You can also create a publisher page to store together all the packages you create. Follow the instruction at this link to verify your publisher's page. You need to own a public domain and verify that you are the owner. After that, you will have your publisher page verified. Check out my publisher page as a reference.
Now you are ready to publish! Run the dry-run command on your terminal to make sure that all the required files are ready and well-formatted.
flutter pub publish --dry-runThe dry-run command will highlight any possible warning or error to be fixed before being allowed to publish the package on pub.dev. Here below the result of the command on the step_progress_indicator package.

Once the message Package has 0 warnings appears, you are good to go and publish the package on pub.dev. Just run the publishing command, completed the sign in into your pub.dev account, and confirm:
flutter pub publishCongratulations, your package is now available for everyone to download and use on pub.dev!
That is all you need to know to start publishing packages and contribute to the Flutter framework. Check out the official documentation page on flutter.dev. Take a look also at this episode of The Boring Show:
https://www.youtube.com/watch?v=6OqXMPbDCik
If you like this tutorial, it would be awesome if you can share it with other developers to expand the community of Flutter. If more people would learn and publish open-source packages even more, everyone will benefit from it.
If you like the article, check out more on the blog and on flutter. Consider subscribing to my newsletter to be updated about the coolest news and newest articles on my blog.
Thanks for reading.